exercise 3: clipping masks
Part 1 – Create a Clipping Mask
1. Go to the Internet and search for images for your zodiac sign using any search engine. www.deviantart.com is a good place to start. Try to find simple signs that are mostly just black and white shapes/symbols. Nothing illustrated or complicated.
2. Find a picture you want and right mouse click on it and “Copy”
Paste the picture in Illustrator (right click> paste)
3. Draw any shape on top of the image (no fill) using one of the shape tools in the toolbox
4. Hold the SHIFT key down and using the Selection Tool, click on both your image and the shape you drew
5. With both selected (you can see all the square "handlebars"), click on Object> Clipping Mask> Make
Make sure you remember that the handlebars are simply the anchor points at every corner.
6. If you have captured the part of the image that looks best, now apply a filter (Example: Filter> Distort> Roughen, click on smooth button, OK)
7. Draw a rectangle using any color for the fill. Size it to the entire page from top/bottom/left/and right margins. If the rectangle covers your zodiac image, Click on Object> Arrange> Send to Back. If you have trouble with this, make sure that you have the rectangle selected when you follow the steps I just mentioned.
8. Save as Your Last Name
Part 2 – Word Art
9. Using the same zodiac image from Part 1, click on the Text tool (the default type tool) and type the name of your zodiac at the bottom of the page below your image.
10. Change the type size to at least 30 pt and change the font to something appropriate
11. Turn your text into outlines by clicking on Type> Create Outlines
(Hint: Use Selection Tool to make sure text is selected or the option to create outlines will be inaccessible)
12. Next we’ll group the letters. Click on Object> Group
13. Now add a twist effect at 50 degrees(Filter> Distort> Twist, type in 50%, click OK)
14. Now ungroup the text (Object> Ungroup)
15. Using the Selection Tool, click on the first letter in your zodiac name, and size it larger using the handlebars (not TOO large—just enough for emphasis)
16. Save the file again
Part 3 – Zig Zag Text
17. Now, Type your name at the top of the page above your image
18. Using the selection tool, click on the text you just typed so you can see the “handle bars”
19. Convert the type to outlines (Type> Create Outlines)
20. Group the entire word (Object> group)
21. Apply a desired effect.
22. Save the file again
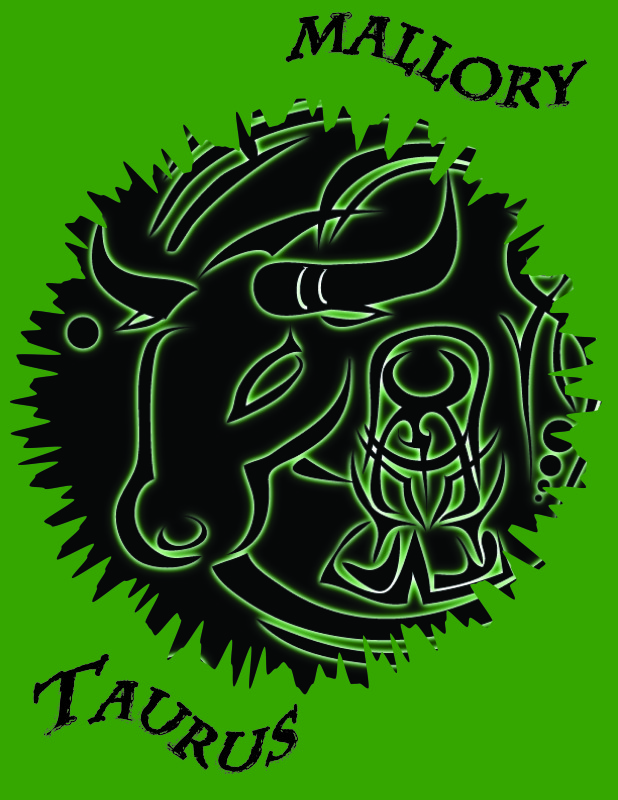
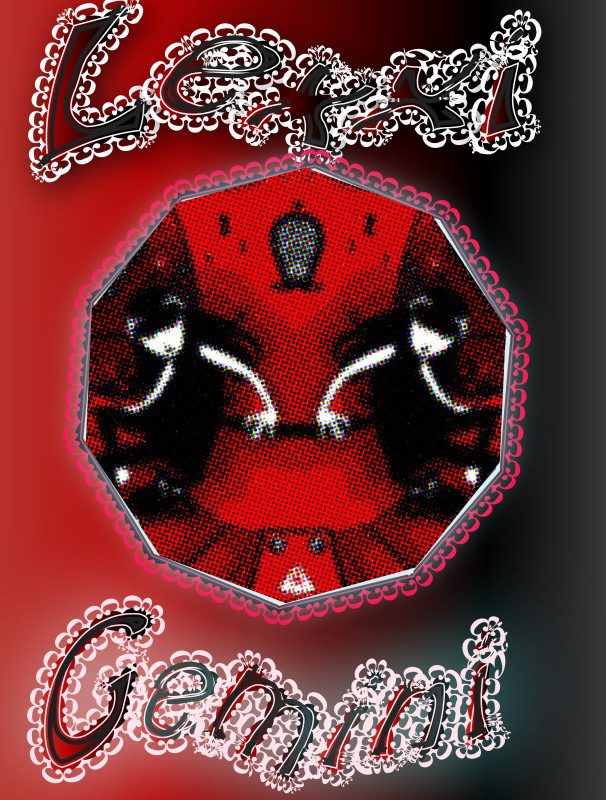
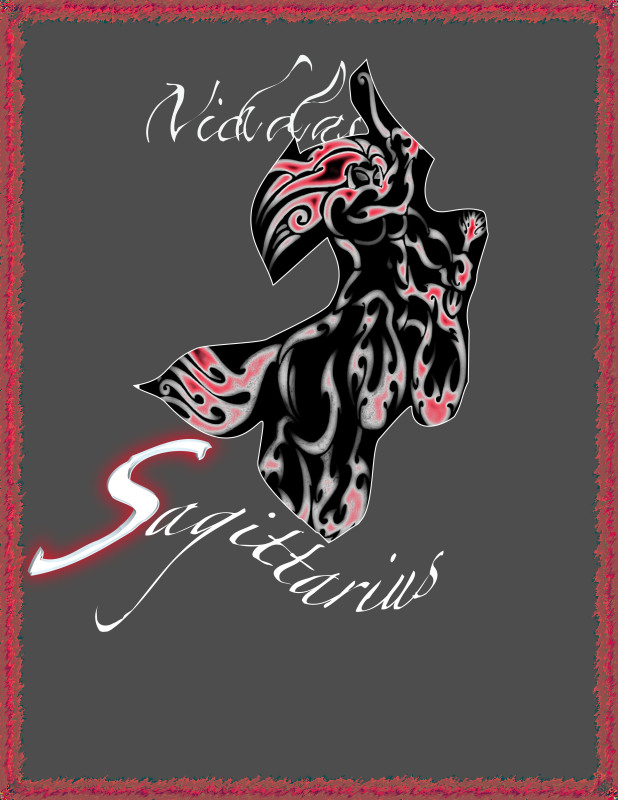
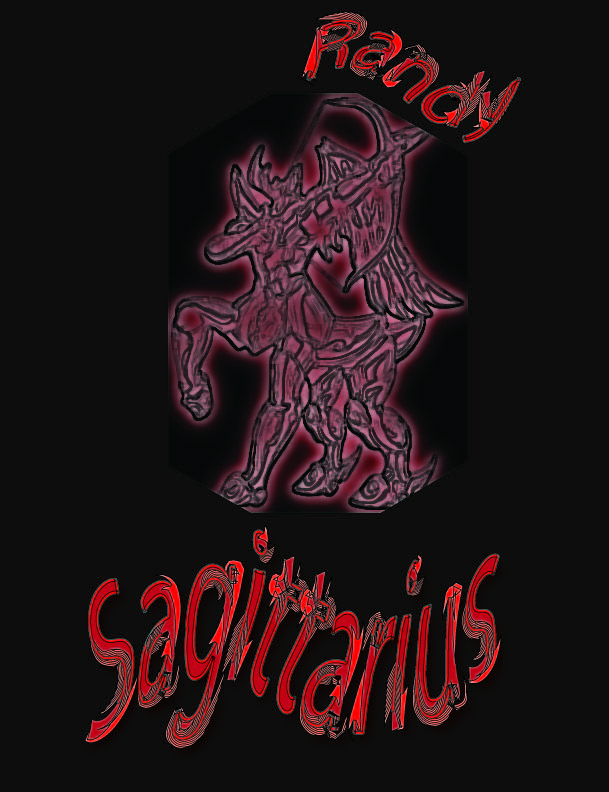
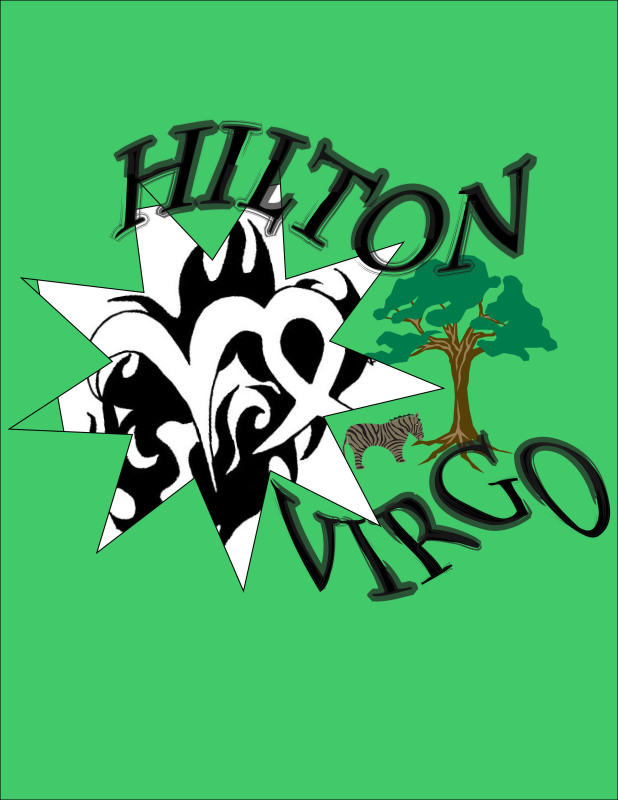
Student Examples