final composition due september 24
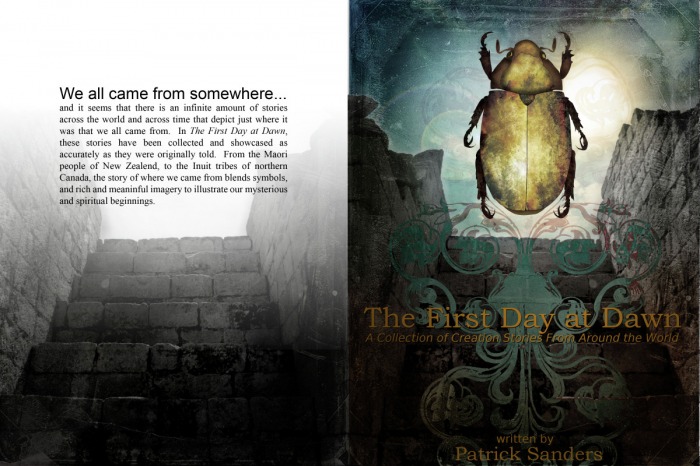
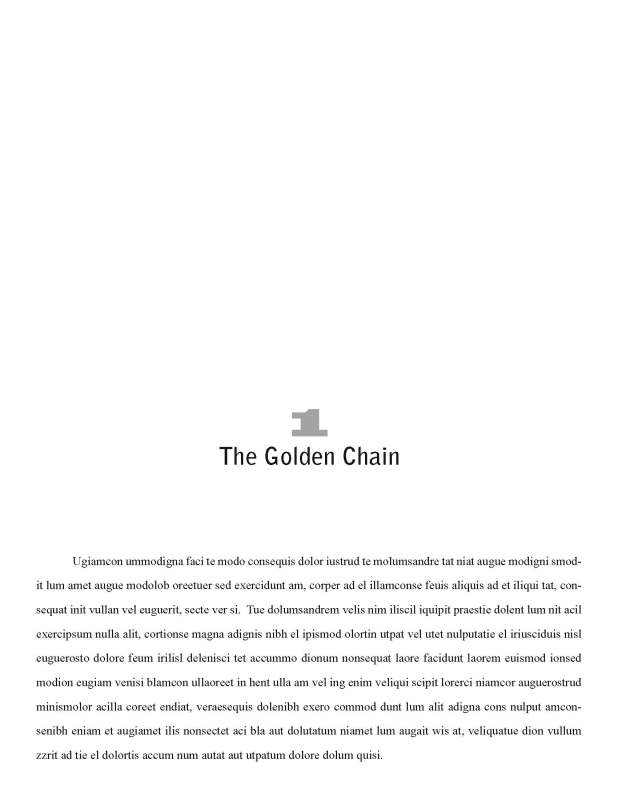
WE’RE ALMOST DONE! Now that all of the hard work is done, we’re going to assemble our book using Adobe Indesign and Adobe Acrobat. Use the specific instructions I have included when setting up your file in Adobe Indesign. My final demo is below to help you understand how the final composition will look. Keep in mind, I added the spine to the project later, the demo doesn't reflect that element.
Setting up your Indesign Document:
Create a document in Indesign with the same dimensions of the front and back cover....The width is 7 inches, and the height of the page will measure 10 inches. Make sure that you put in 2 pages, otherwise you will only have one. Once you have finished the Indesign part, we will add our front/back cover and spine design into the Acrobat file you create.The Indesign element will cover the first chapter or installment in your book. This is where we will be using our Page Fill option, so that you don’t have to actually write an entire chapter for your book. Refer to 'Image A' that I have included below as to how to achieve this.
Once you have finished the Indesign aspect of your book and you have exported your file as a PDF, you will open that file (the PDF) and add the cover art. You do this by opening up the menu on the left hand side of the screen, right clicking, and selecting 'Insert Pages.' Then a pretty standard dialog box will open up, and you will select your artwork...once you have that selected, it will ask you where you want it inserted...we want that to come first. The order of pages in your PDF needs to be the front/back/spine, then your two pages created in Indesign.
Once your book has been completed, go to FILE > SAVE … and save your book as “your last name_final book.” This will be the file (a PDF) that you send me as your completed book. This will be its own grade as well… its always a good idea to check with me first about every detail before sending your work in. If you need to fix something first, that will help your grade when it comes to the grading.
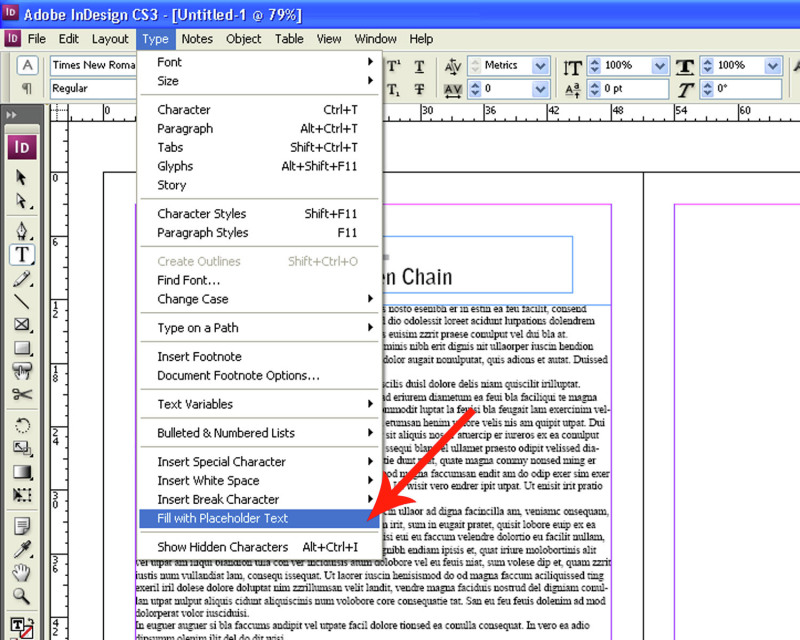
A. Click to enlarge
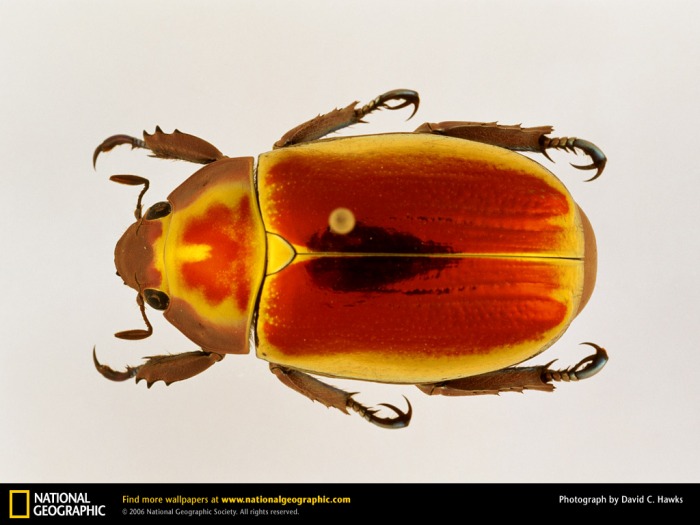
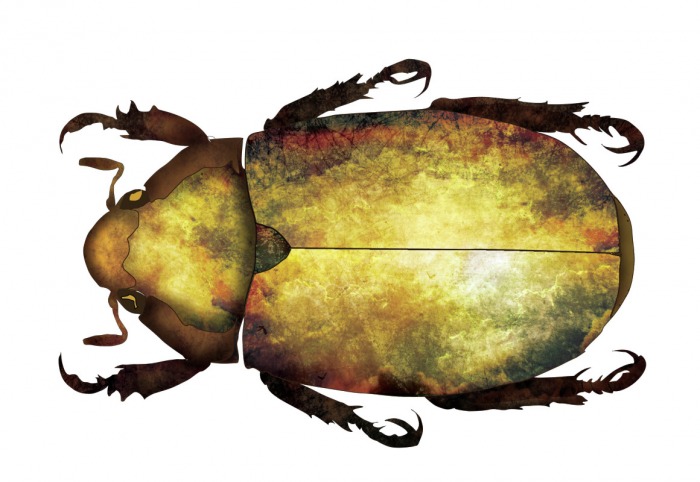
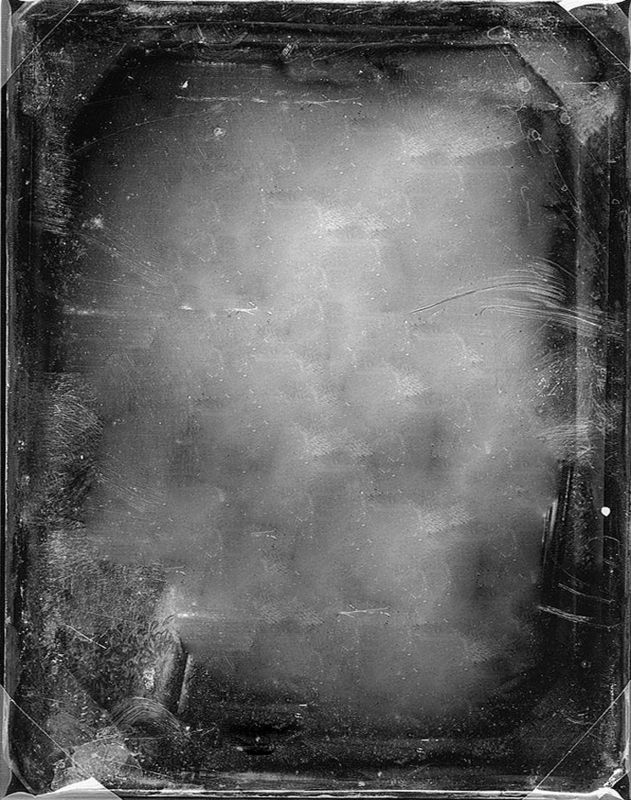
my creative process
click on the first image to see a slideshow of my process, and make sure to read the captions under each image...I have included some thoughts on each step that let you in a bit to what I was doing with each part.
click on the first image to see a slideshow of my process, and make sure to read the captions under each image...I have included some thoughts on each step that let you in a bit to what I was doing with each part.